
This is my second production week for creating my YouTube channel. My main focus was to record four “rough draft” videos. I needed to see how the scripts, audio, and background looked and sounded on camera. This way, I can figure out minor tweaks before posting my final videos.
Filming
Gathering my materials, setting up equipment, and choosing outfits was the first step in my filming process. Once I got all settled in, I sat down in front of the camera and started to record my first YouTube video… or so I thought. For the first 20 minutes of filming, I didn’t actually hit the record button, so I started over. Then my camera battery died, pulled in the fully charged spare, and continued to record. After I got through the first section of the video, I looked in camera to make sure I was in focus. Nothing seemed wrong, so I continued to record a few more takes.
I suddenly got a bad feeling and decided to make sure I was in focus. I pulled my SD card into my laptop to learn my suspicions were correct. Sadly, I was just slightly out of focus and had to reshoot. Unfortunately, at that point, I had lost all the natural light and had to wait for the next day.
Luckily, day 2 of shooting went a lot smoother. I was able to film all four videos from start to finish before I started to lose the natural lighting in my apartment. At the end of the day, I felt more comfortable talking in front of the camera and found myself making fewer mistakes. I also learned that my camera can only record 10 minutes of content before it stops recording. To prevent losing valuable content, I set a 10-minute timer to make sure to wrap up whatever I was talking about. I also realized that I sounded very robotic when trying to read the script word for word. Halfway through recording the first video, I started to use my scripts as an outline instead of the only things I could say.
I quickly stopped flubbing my words and sounded more natural and conversational. This approach will hopefully seem more relatable for future subscribers and viewers.
Editing
After I finished recording the four videos, I started making rough cuts to remove the awkward pauses, “umms”, and mistakes while I was talking. I also cut rambling sentences and off-topic rants. Once the videos sounded smooth, I decided to add an intro as well. Since I don’t know anything about motion graphic design, I quickly typed in a Google search to look for free YouTube intros. I found a website called PlaceIt, chose a template, changed some colors, added my channel name, and added it to my video. This professional introduction will make my videos seem more professional, despite my inexperience on the platform. (In my first round of editing, I put the Placeit intro at the very beginning. After watching some YouTube creators, I realized that most of the famous accounts talk for a few seconds, then add their signature graphic intro.)
Thumbnails
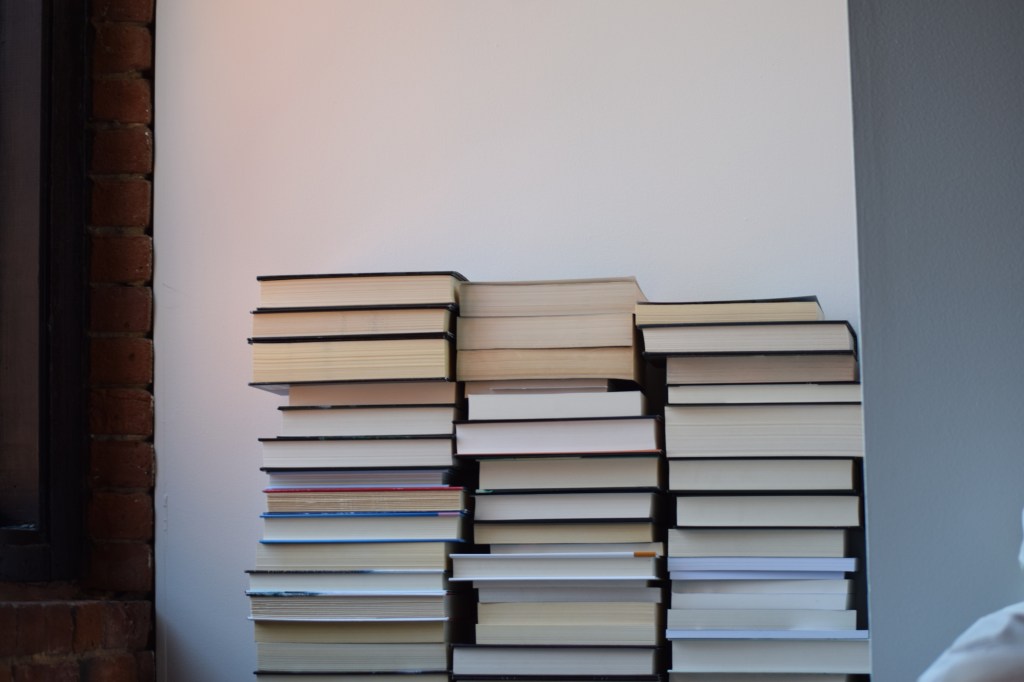
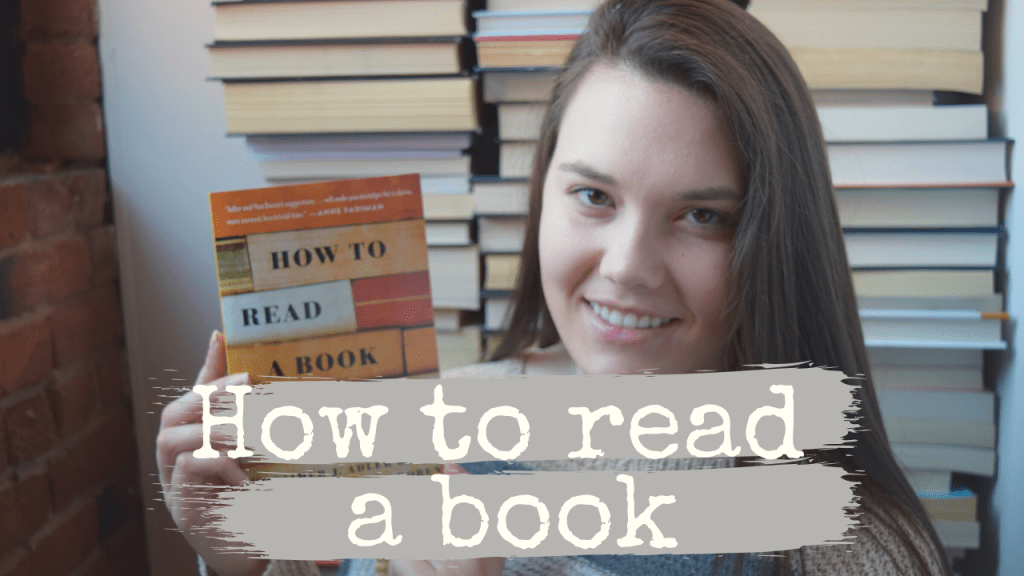
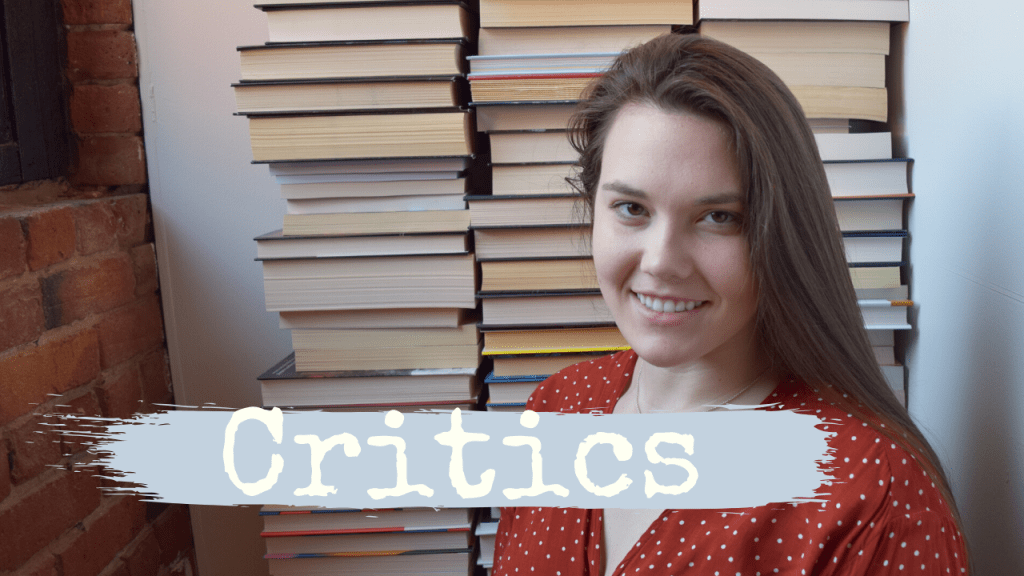
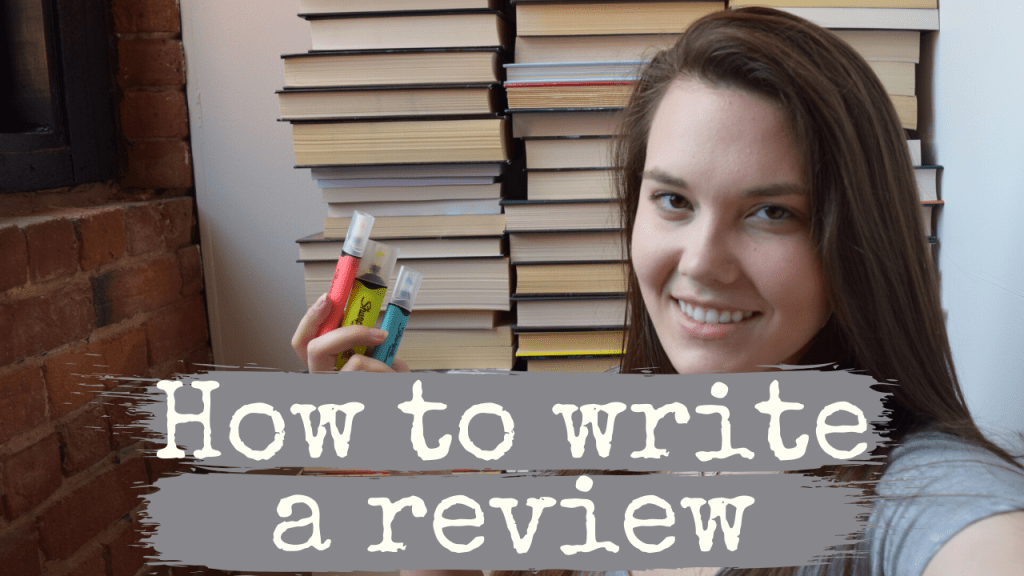
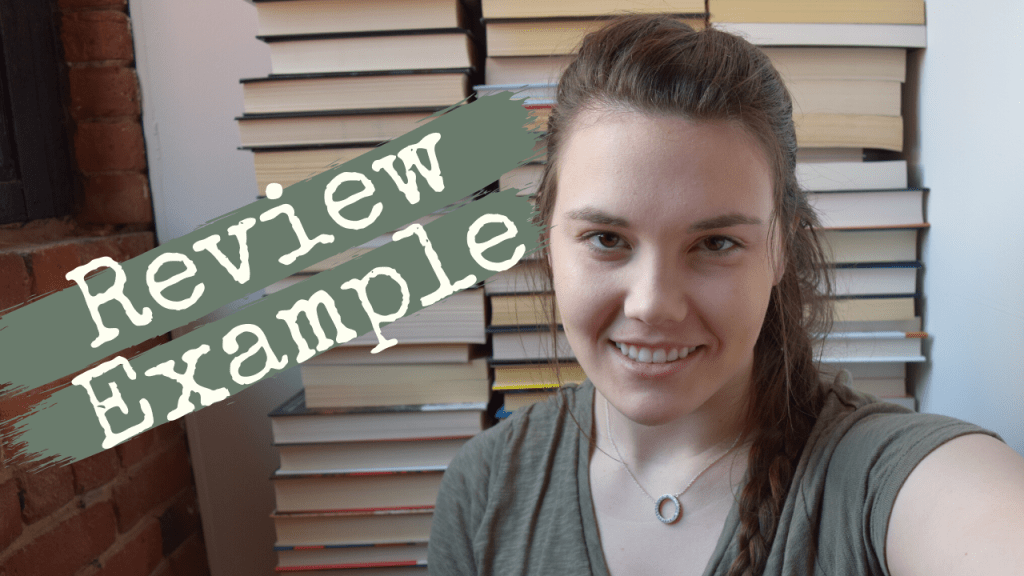
I then quickly created thumbnails for each video in Canva. Before shooting each video, I took a quick picture with myself on the right-hand side. I intended to put the text on the bottom or left-hand side of the photo. This strategy was effective, but in the future, I will make sure I take the picture from further away to make sure the text won’t be so close to my face.
Audience Testing Prep
Once all the videos were finished, I put together a quick, information Survey Monkey questionnaire to get feedback on my videos. The survey consists of 10 questions that address my technical skills, content creation, and interest level. Most of the questions are Yes/No, but there are some multiple-choice selections as well. I also added an opened ended “other” selection” in case someone has an idea that I have not thought of.
- Are the videos interesting?
- Am I mumbling/ hard to understand/ talking too fast?
- Is the audio clear?
- Are my statements clear?
- Are there issues with editing?
- How is the length of the videos?
- Should I add more information?
- Are the thumbnails clear?
- Is the background distracting?
- Would you subscribe?
The Survey Monkey questionnaire will ensure that my videos are clear, well presented, full of interesting content, and make the viewer want to subscribe.
For the participants to watch my videos, I needed to post them privately on my YouTube channel. Only the people with a link will be able to watch the video online.
Adding Descriptions
This was my opportunity to start putting together my thumbnails, videos, and come up with descriptions. I kept each description very short, with one or two sentences adding more substance to the overall video. The most important part of the description was the links to all of my research. Most of the sources were included in How To Write A Review and Critics. I didn’t want to put too much information in the description because I want people to watch the video instead of quickly reading the description and then leaving.
Conclusion
Next week I will be sending out the survey and links to my peers to assess my videos. By the middle of the week, I will assess the results, implement the changes, and post the final products.

Leave a comment